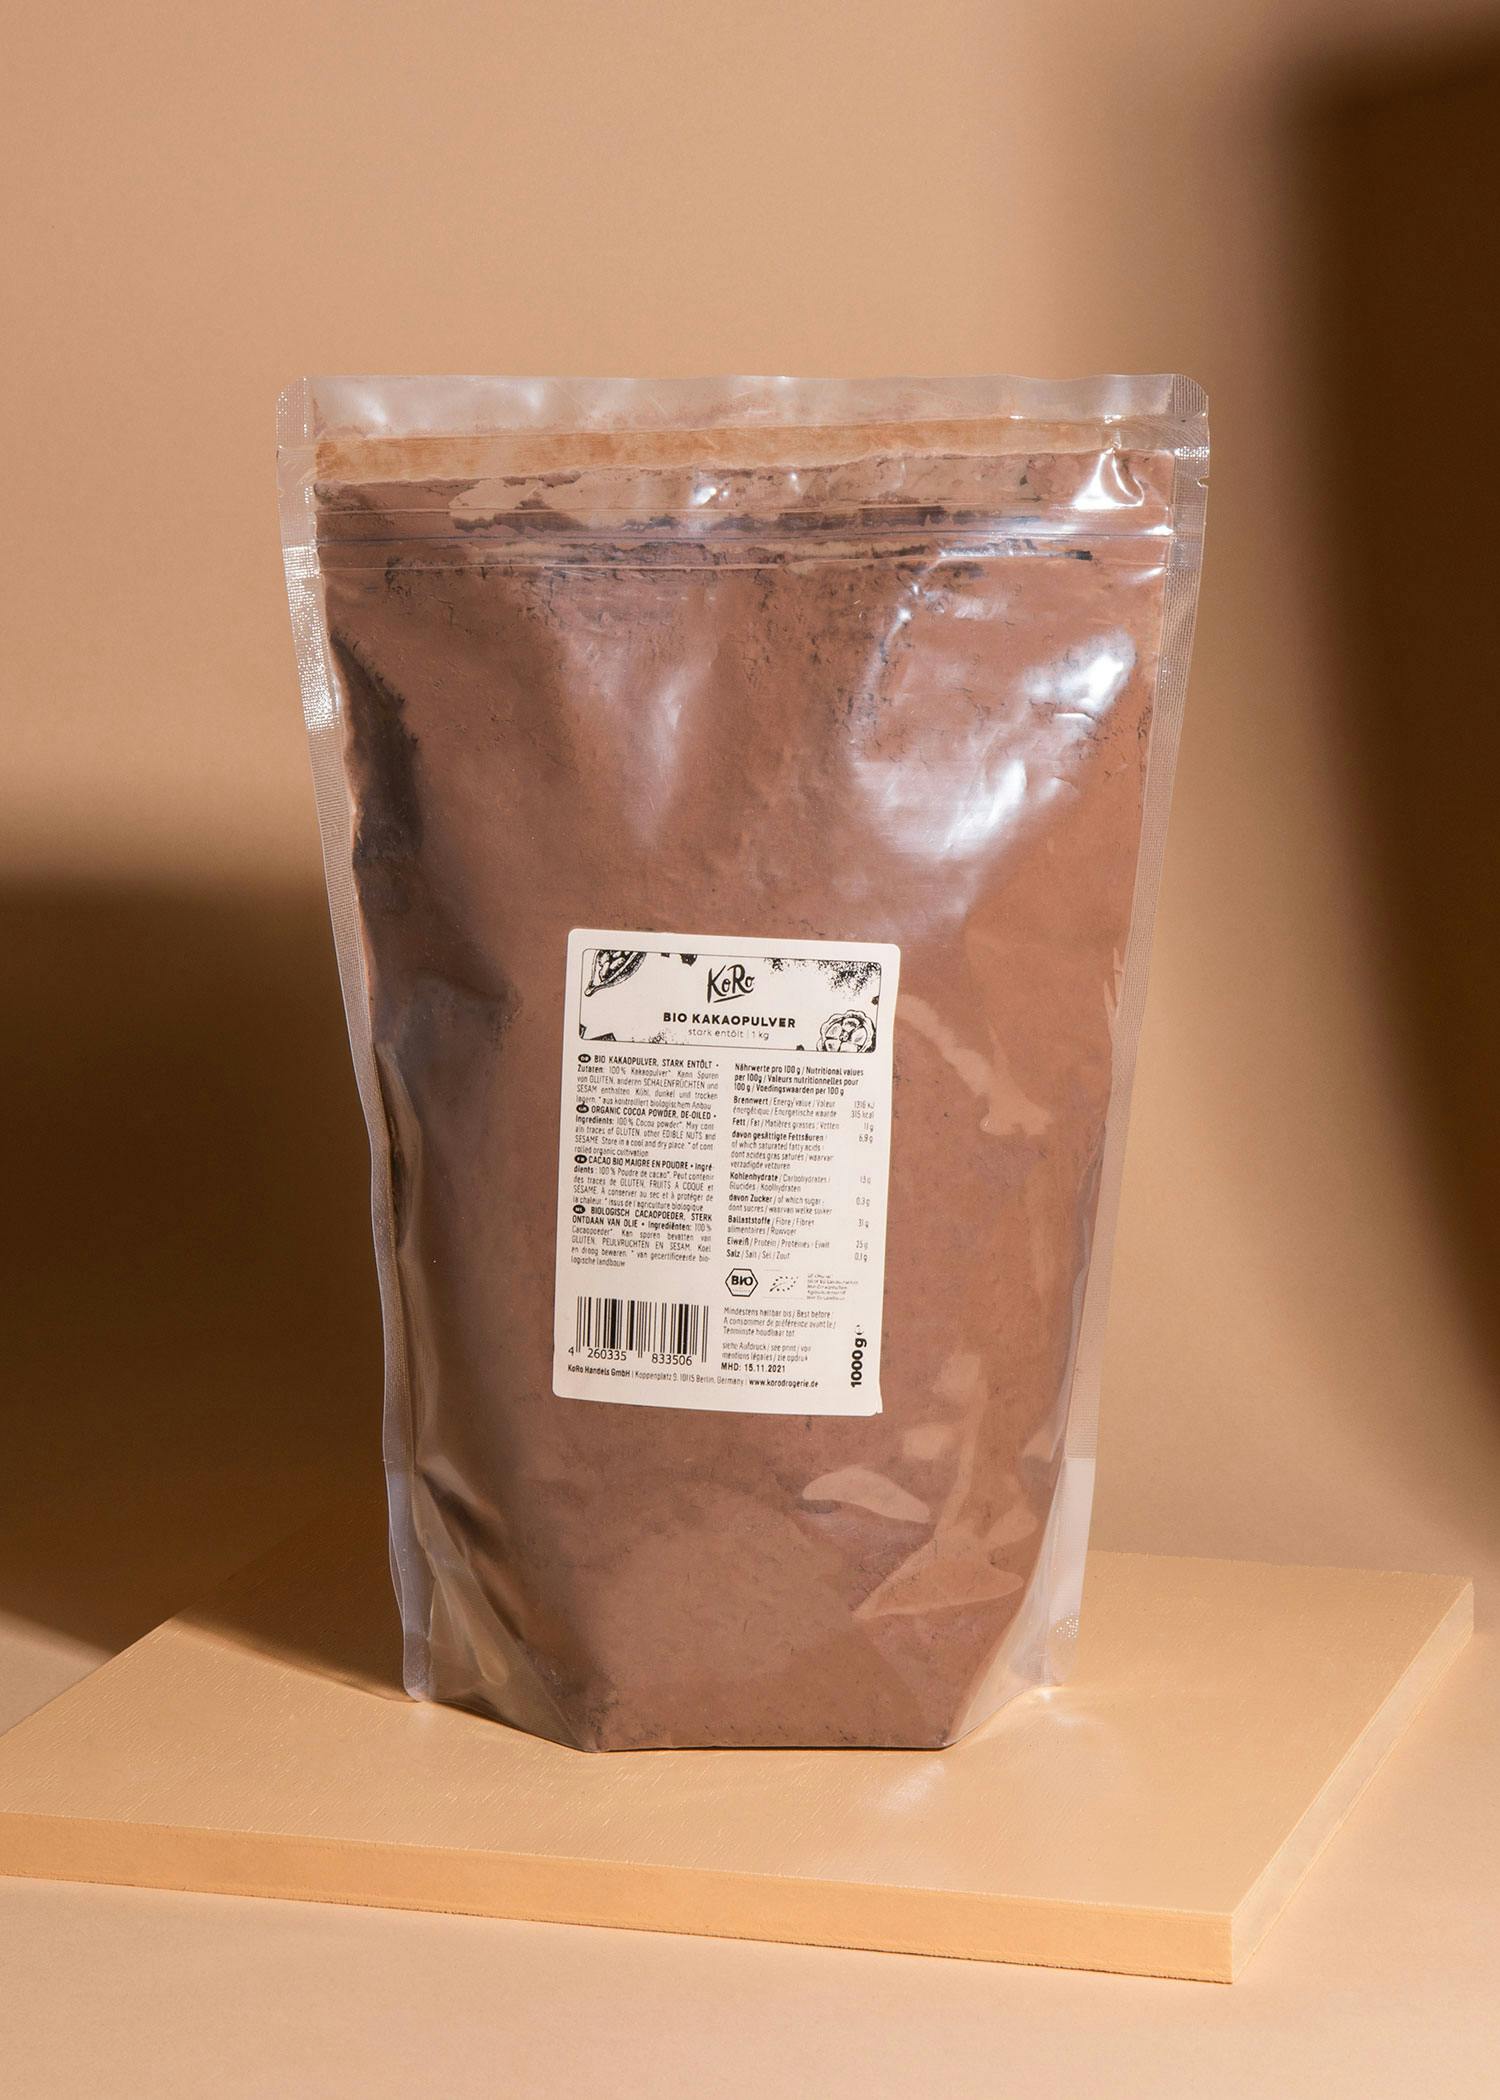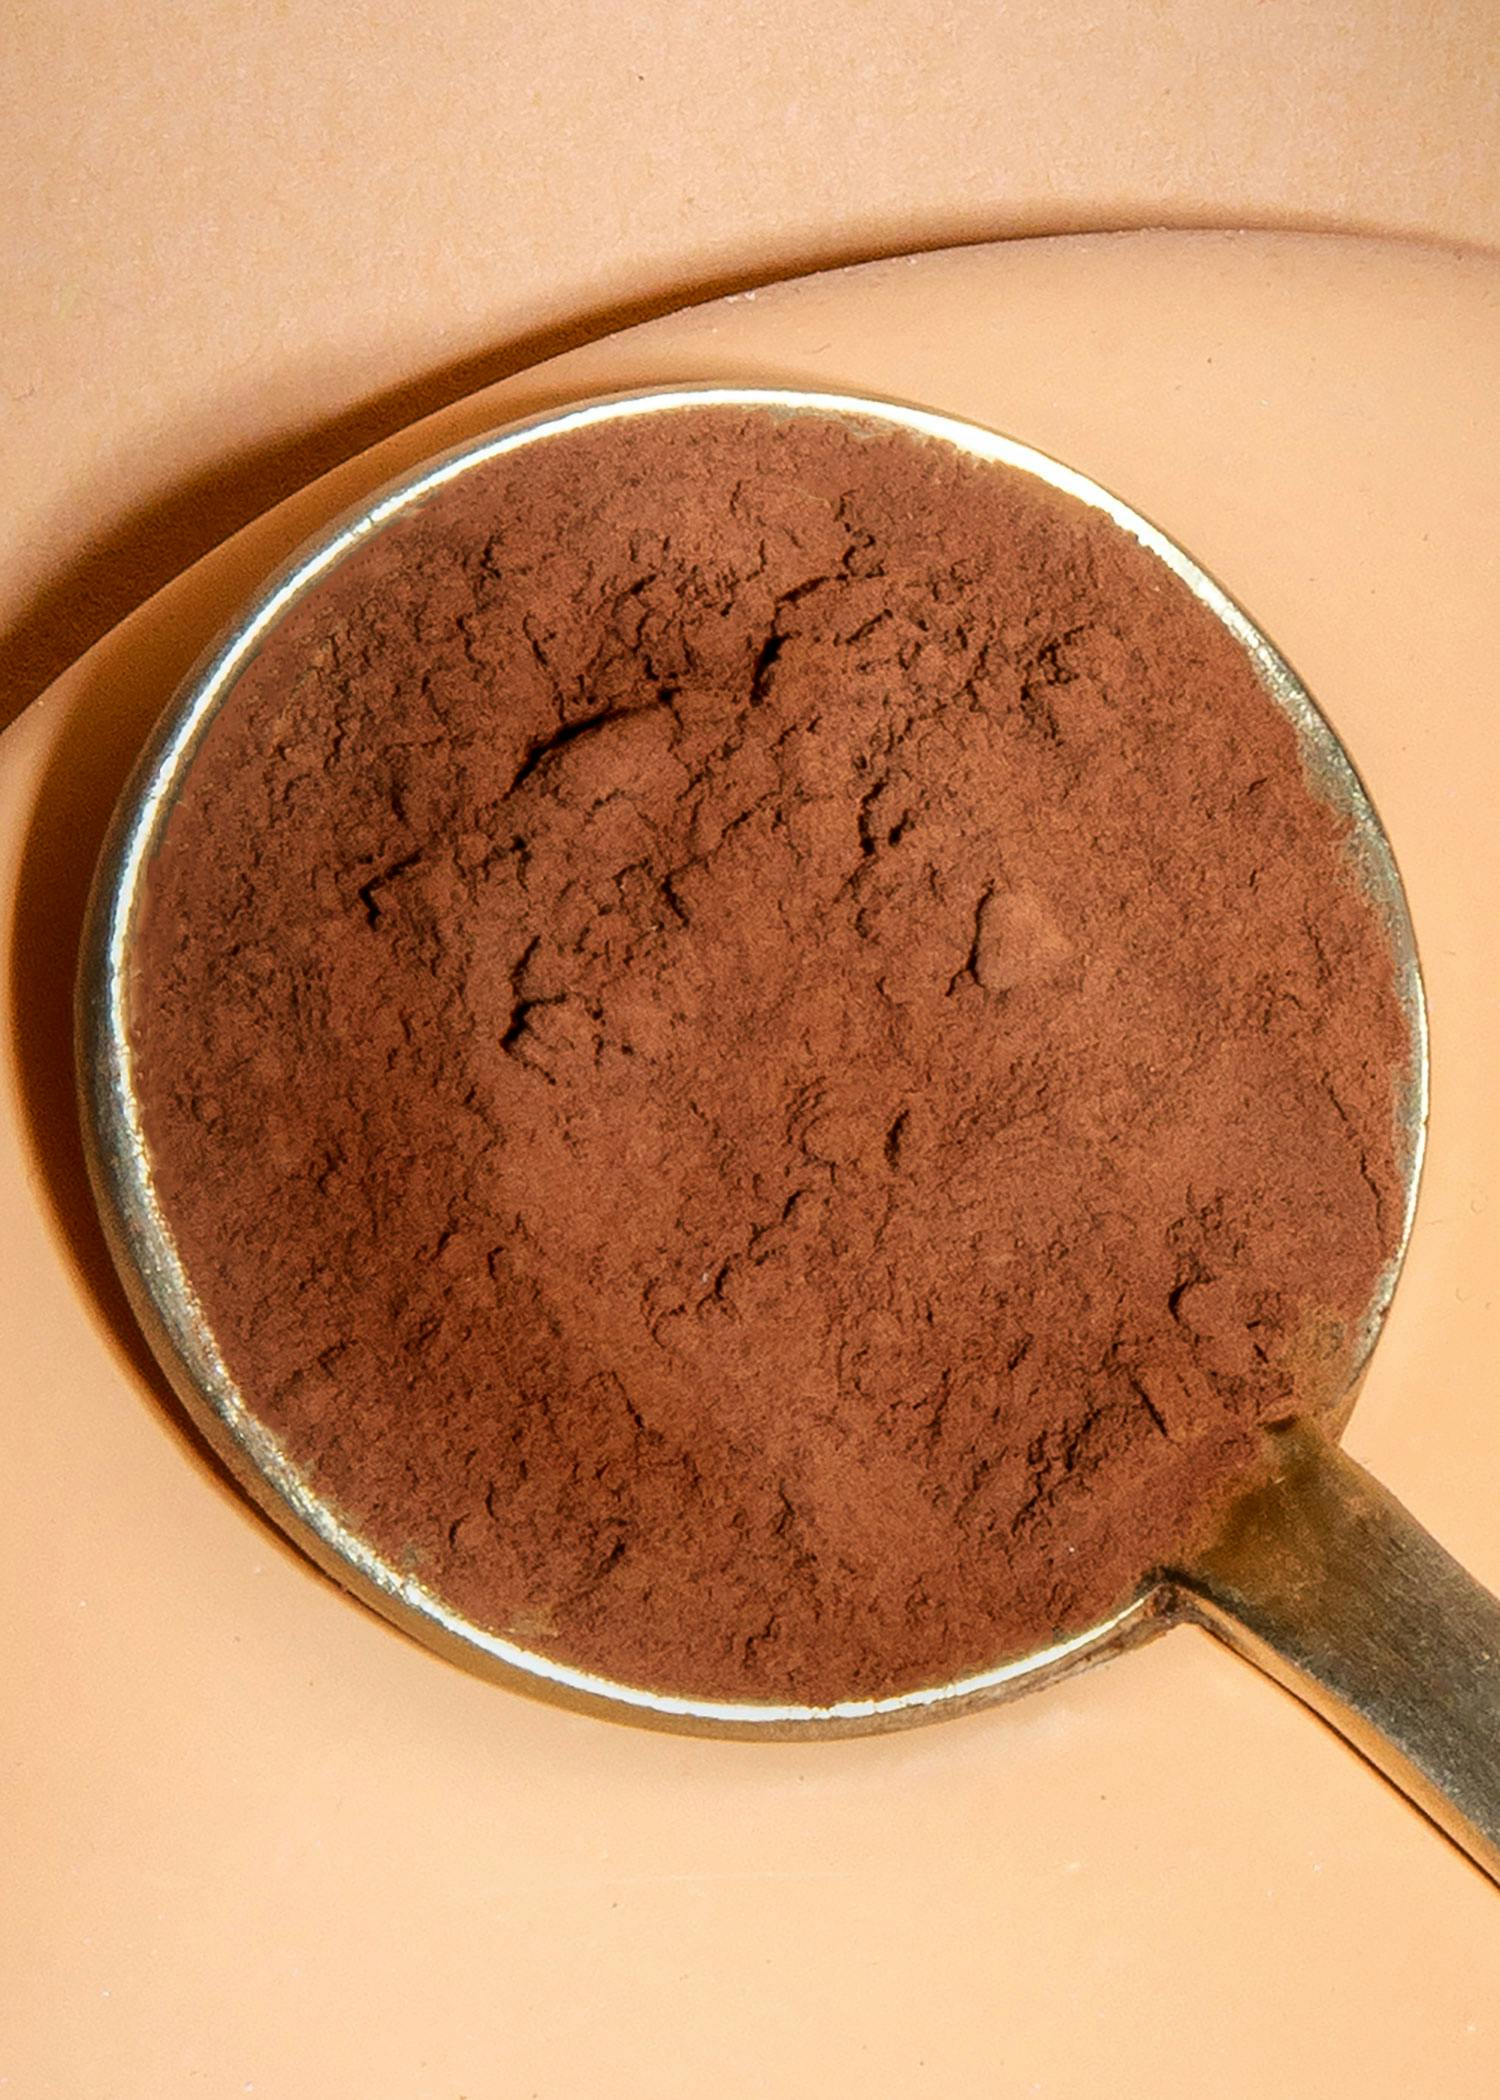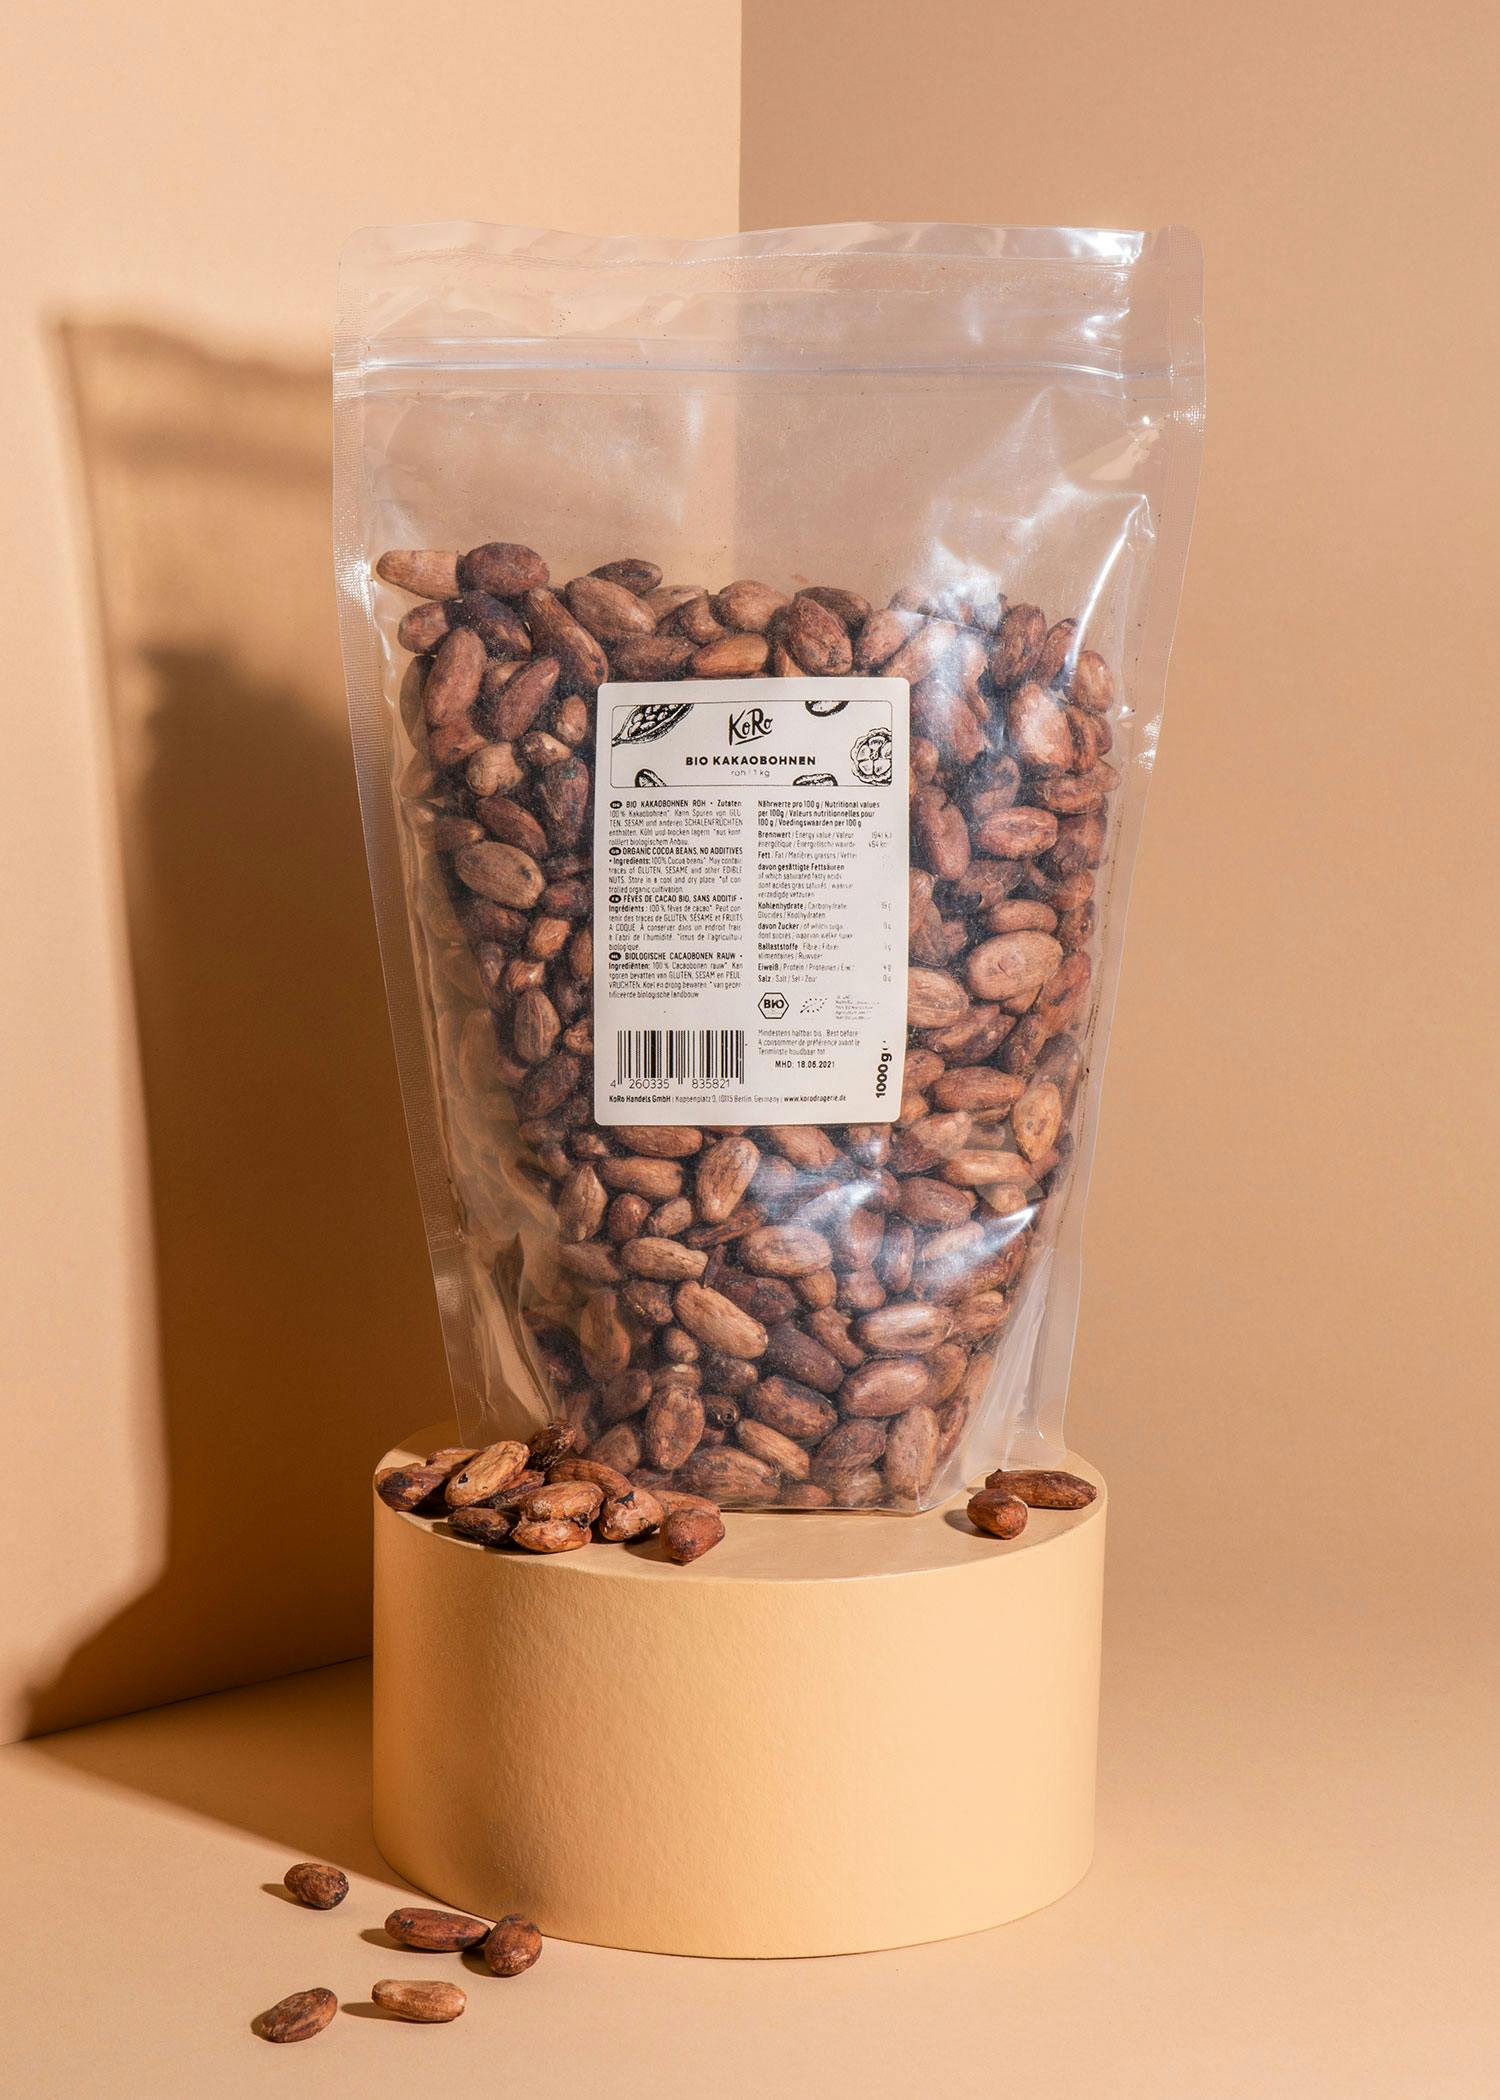
Dreaming of your own chocolate? Then you've come to the right place. We want to briefly show you how you can make your own chocolate at home without a lot of help. And that doesn't mean melting down existing chocolate bars and decorating them with fruit or other treats. No, anyone can do that. We're talking about a real DIY chocolate creation here. However, it's not quite as easy as it sounds if you actually want to make it all by yourself. But with a little patience and flair, it should still work. You need to know in advance: The result will probably not be quite as fine as a bar of chocolate from the supermarket, as you would need other professional tools and machines for that. But it will certainly be a treat to your taste. Incidentally, you can now find all the main ingredients you need to put a chocolate smile on the lips of you and your loved ones: cocoa beans, cocoa butter, cocoa powder, we've got them all!
Method 1: Chocolate made from raw cocoa beans
Ingredients (for approx. 500g chocolate):
- 150g raw cacao beans
- 175g sugar (powdered sugar works best)
- 100g milk powder (if you want a milk chocolate)
- Spices (for example 1 vanilla pod)
- Some cocoa butter if required
Step 1: Roast the cocoa beans
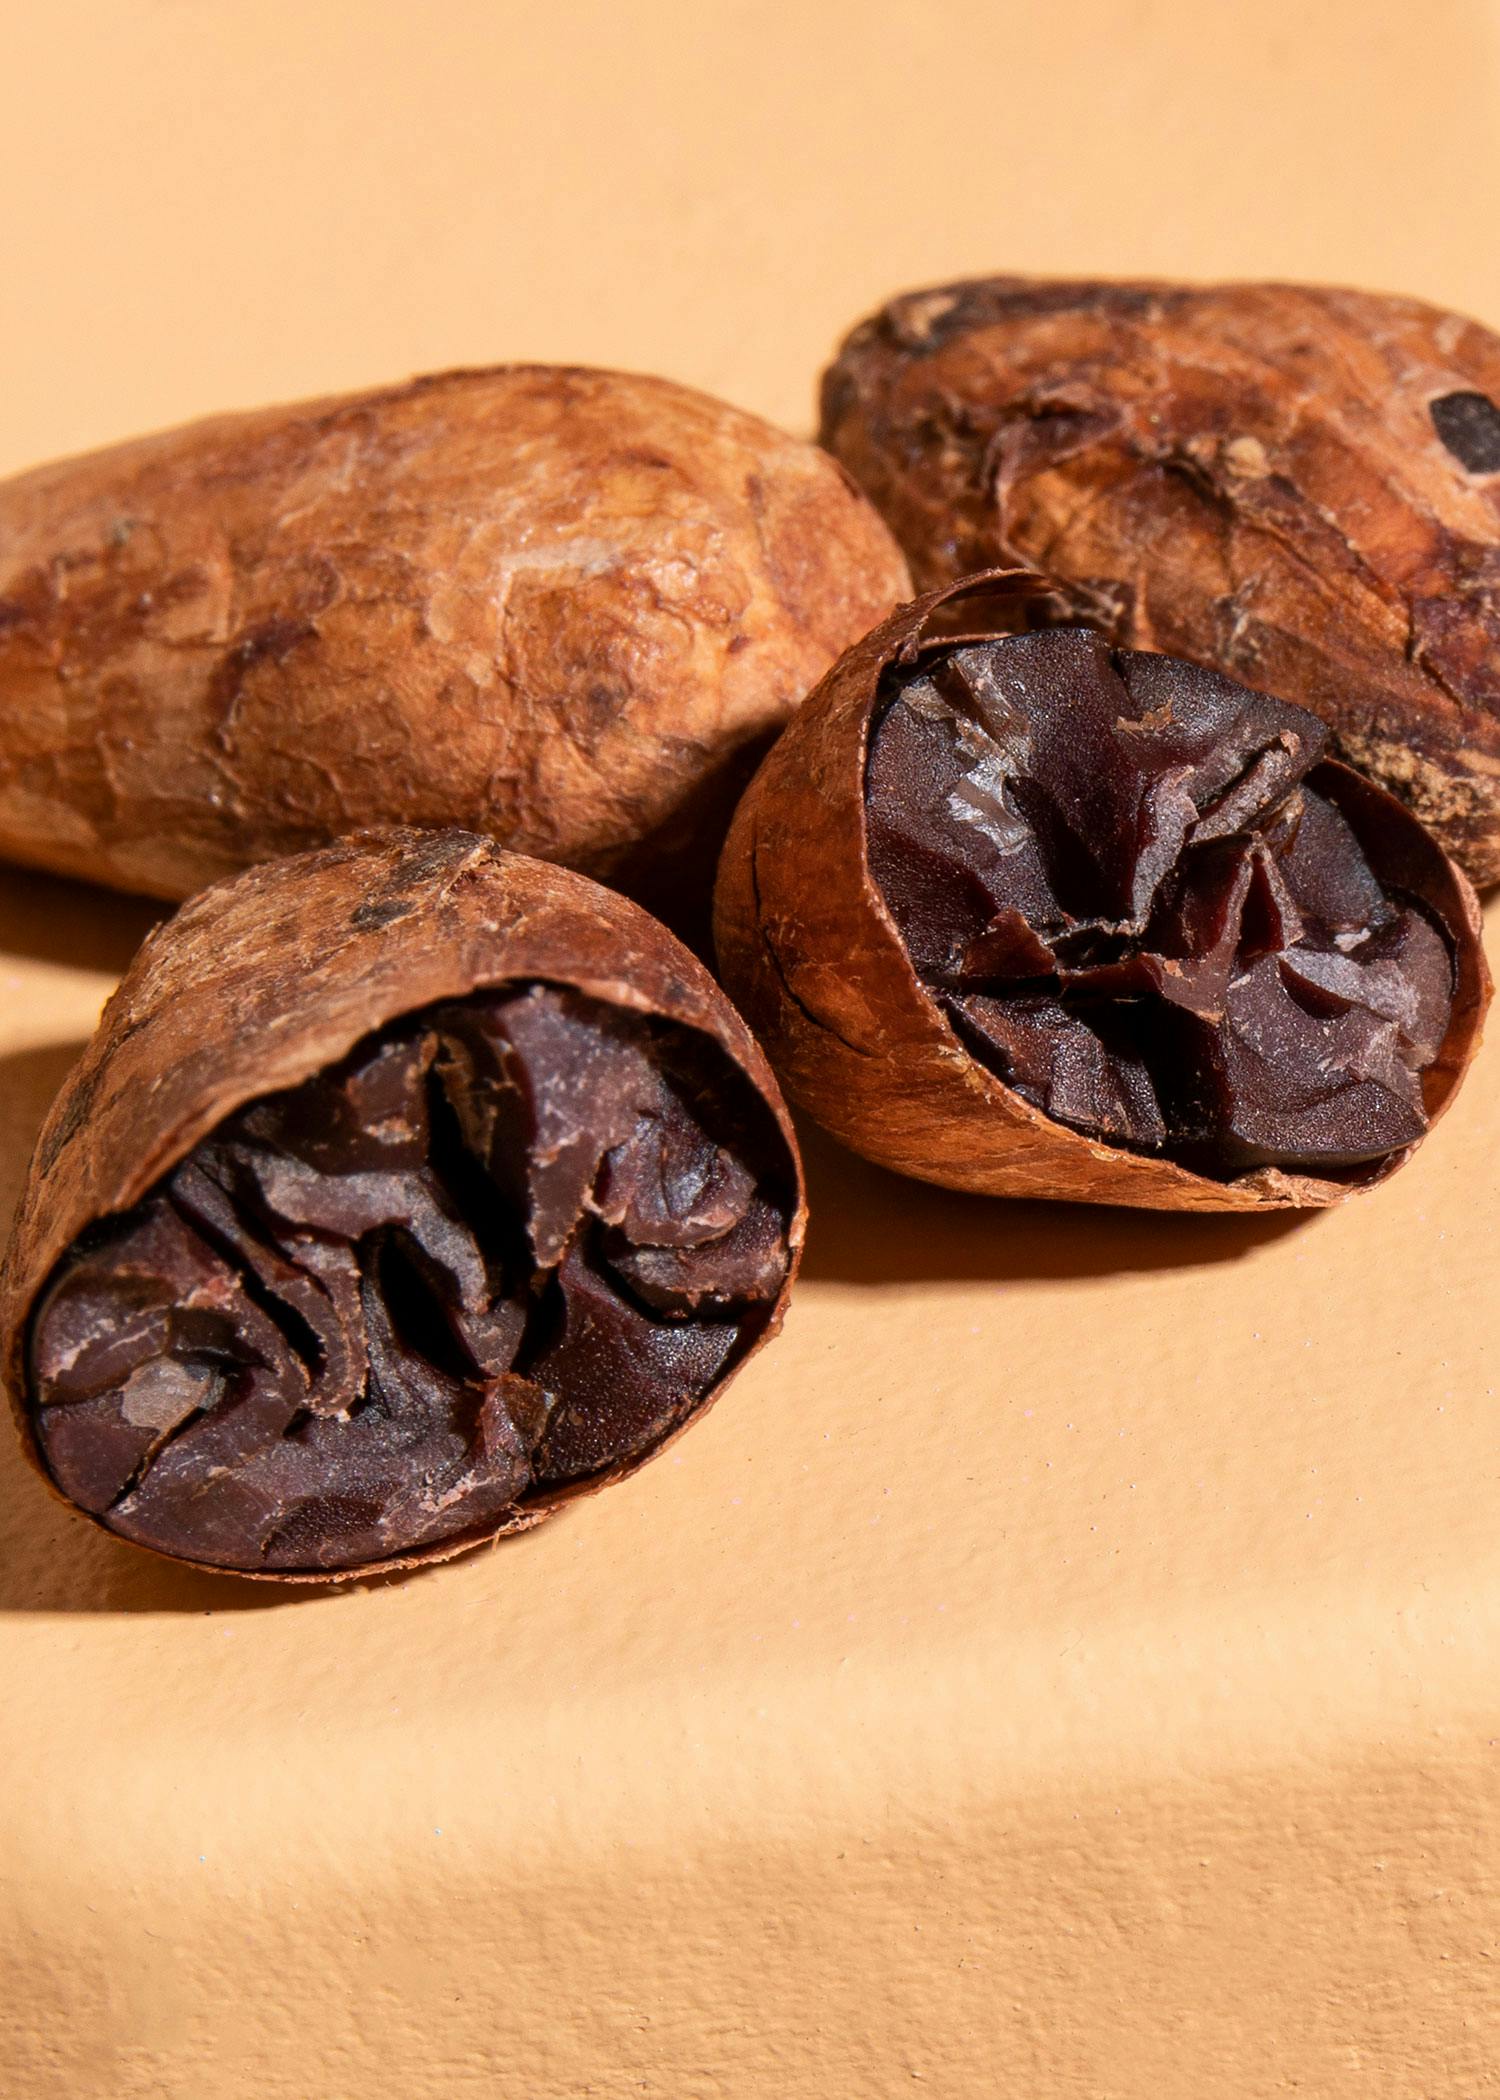
Before you roast the cocoa beans, you need to sort them. Only whole beans should be used and they should be the same size, otherwise the smaller ones will burn. The oven is best suited for roasting in your own kitchen. However, if you don't have one or it is broken, you can also roast the beans in a pan. There are some differences in time and temperature to consider when roasting, depending on the roasting method and the cocoa beans. As a rule of thumb, you can set the oven to between 110°C and 130°C. The roasting time should then be between 15 and 30 minutes. The temperature can be high at the start of roasting, but should then be lower. You can recognize the end of roasting when an intense cocoa smell wafts through the kitchen. This is a good time to turn down the temperature.
Step 2: Grind the cocoa beans
First you need to remove the shell from the cocoa beans. The inside can then be easily crumbled. If you only have a few beans, they can be peeled quickly by hand. Once the shell has been removed from the cocoa beans, they need to be ground. You must bear in mind that the beans consist of 50% fat, which quickly pushes many blenders to their limits. Blenders that can also process very fatty material are therefore suitable for this step. Otherwise, an electric coffee grinder can also be used very well for this. Then you need about 10 minutes of patience until you have a relatively thick brown mass in front of you. Be careful, it can also get hot, as the temperature in the mixture rises to around 50°C. If you are using a normal household blender, you will need to allow more time and make sure that your blender does not overheat, i.e. it may need a short break.
Step 3: Refine the taste
Now add the sugar to the cocoa mass. Powdered sugar is particularly fine and therefore combines better with the mixture. If you want a milk chocolate, add the milk powder now. Spices, such as vanilla, can also give your cocoa mass a very special flavor. However, if you only want to enjoy pure cocoa, then you should do without milk powder and spices at this point. The cocoa mass then becomes chocolate mass. To do this, you need to process the mass with the mixer for another 10 minutes, which will make it even finer. You should plan to add more cocoa butter after about 5 minutes, as this ensures that the chocolate mixture does not become too dry. This would then no longer be a treat for the palate.
Step 4: Tempering on the way to the finish, then just enjoy!
Before the chocolate goes into the molds, it still needs to be tempered. Now you're probably wondering what this is all about and why it's necessary. Tempering, or pre-crystallization, is a process that occurs when the chocolate is still at around 35°C when it cools. Up to six different crystal forms are then created, of which only one is desired. With this one crystal form, the chocolate has a pleasant appearance as well as good hardness, which is characterized by optimal breakage. During tempering, the crystals form from a temperature of below 34.5°C. Initially, the good crystal shape that you want for your chocolate is formed. However, if the temperature of the chocolate drops below 27°C, the other five crystal forms are also formed, which are not desired. The work step is therefore logical, as moderate heating to the initial temperature of 34.5°C destroys the bad crystals while the good crystals are retained. Maximum tempering temperatures are for:
- Dark chocolate 34.5°C
- White chocolate 31.5°C
- Milk chocolate 32.5°C
This also means that you should always use a kitchen thermometer for processing, as a difference of just one degree can have a significant impact on the end result. The optimum processing temperature for dark chocolate is 31°-32°C, for milk chocolate 29.9°-30.5°C and for white chocolate 29.5°-29.9°C.
One method for tempering in practice is to let the chocolate cool down and then heat it up again. To do this, first cool the chocolate in a water bath to below 28.5°C, stirring constantly. You should avoid lumps at all costs, as this is the best way to form the many crystals. Once the 28.5°C mark has been reached, heat the chocolate back up to 31°C for dark chocolate, for example. All the bad crystals have now melted and you can continue working with a nice mass. The best way to check your result is to dip a spoon into the tempered chocolate. If the chocolate sets quickly and has no gray haze, then the result is successful. Then simply pour into the desired mold and leave to harden. It tastes best in good company!
Method 2: With cocoa butter and cocoa powder
Ingredients:
- 80g (raw) cocoa powder
- 80g cocoa butter
- 60g cane sugar
- 1 vanilla pod
If the first option was a little too complicated and time-consuming, then perhaps the second method is the better option for you. Here you need a good raw cocoa powder and cocoa butter, alternatively you can also use coconut oil. Depending on your taste, you can also use dates or honey instead of sugar for the sweetness. First, you should put the cocoa butter in a small container and melt it slowly in a bain-marie. Then stir in the sugar and mix it with the butter mixture until all the sugar crystals have dissolved. Then remove the mixture from the bain-marie, leave to cool briefly and stir in the cocoa powder. You can now pour the still liquid chocolate mixture into a mold of your choice. It should then rest for approx. 2-3 hours. You can also store it in the fridge while it hardens. However, you should leave your homemade chocolate to rest at room temperature for approx. 30 minutes before eating so that it can develop its full flavor. This option saves time and can also be done quickly with friends and family.
Tip:
You can also use the still-warm chocolate mixture as a vegan chocolate sauce over fruit or your favorite ice cream.
